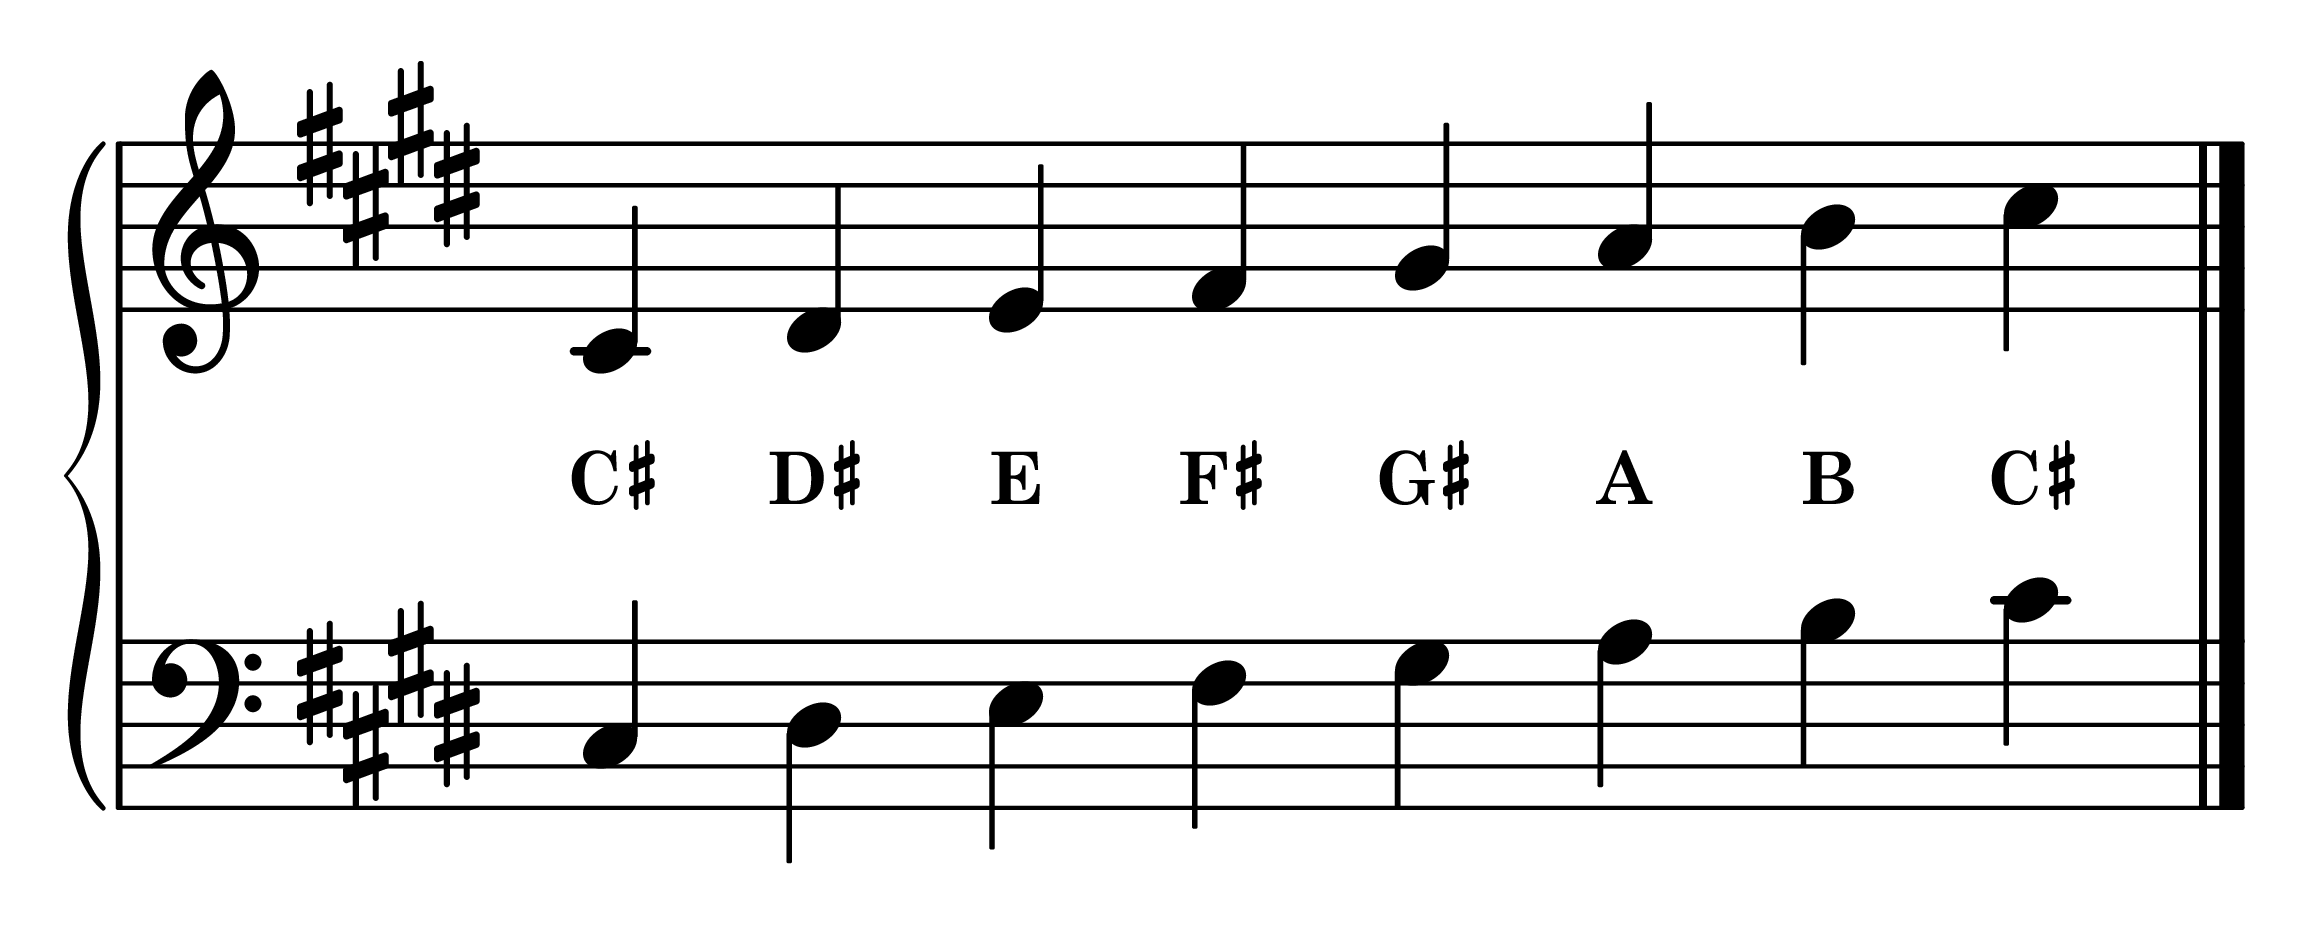
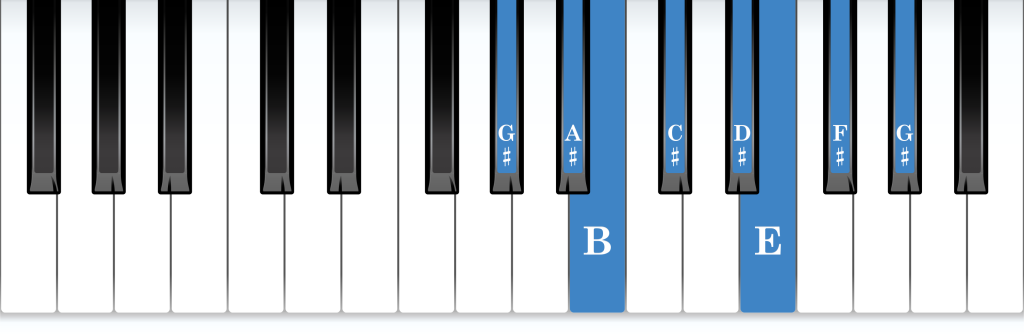
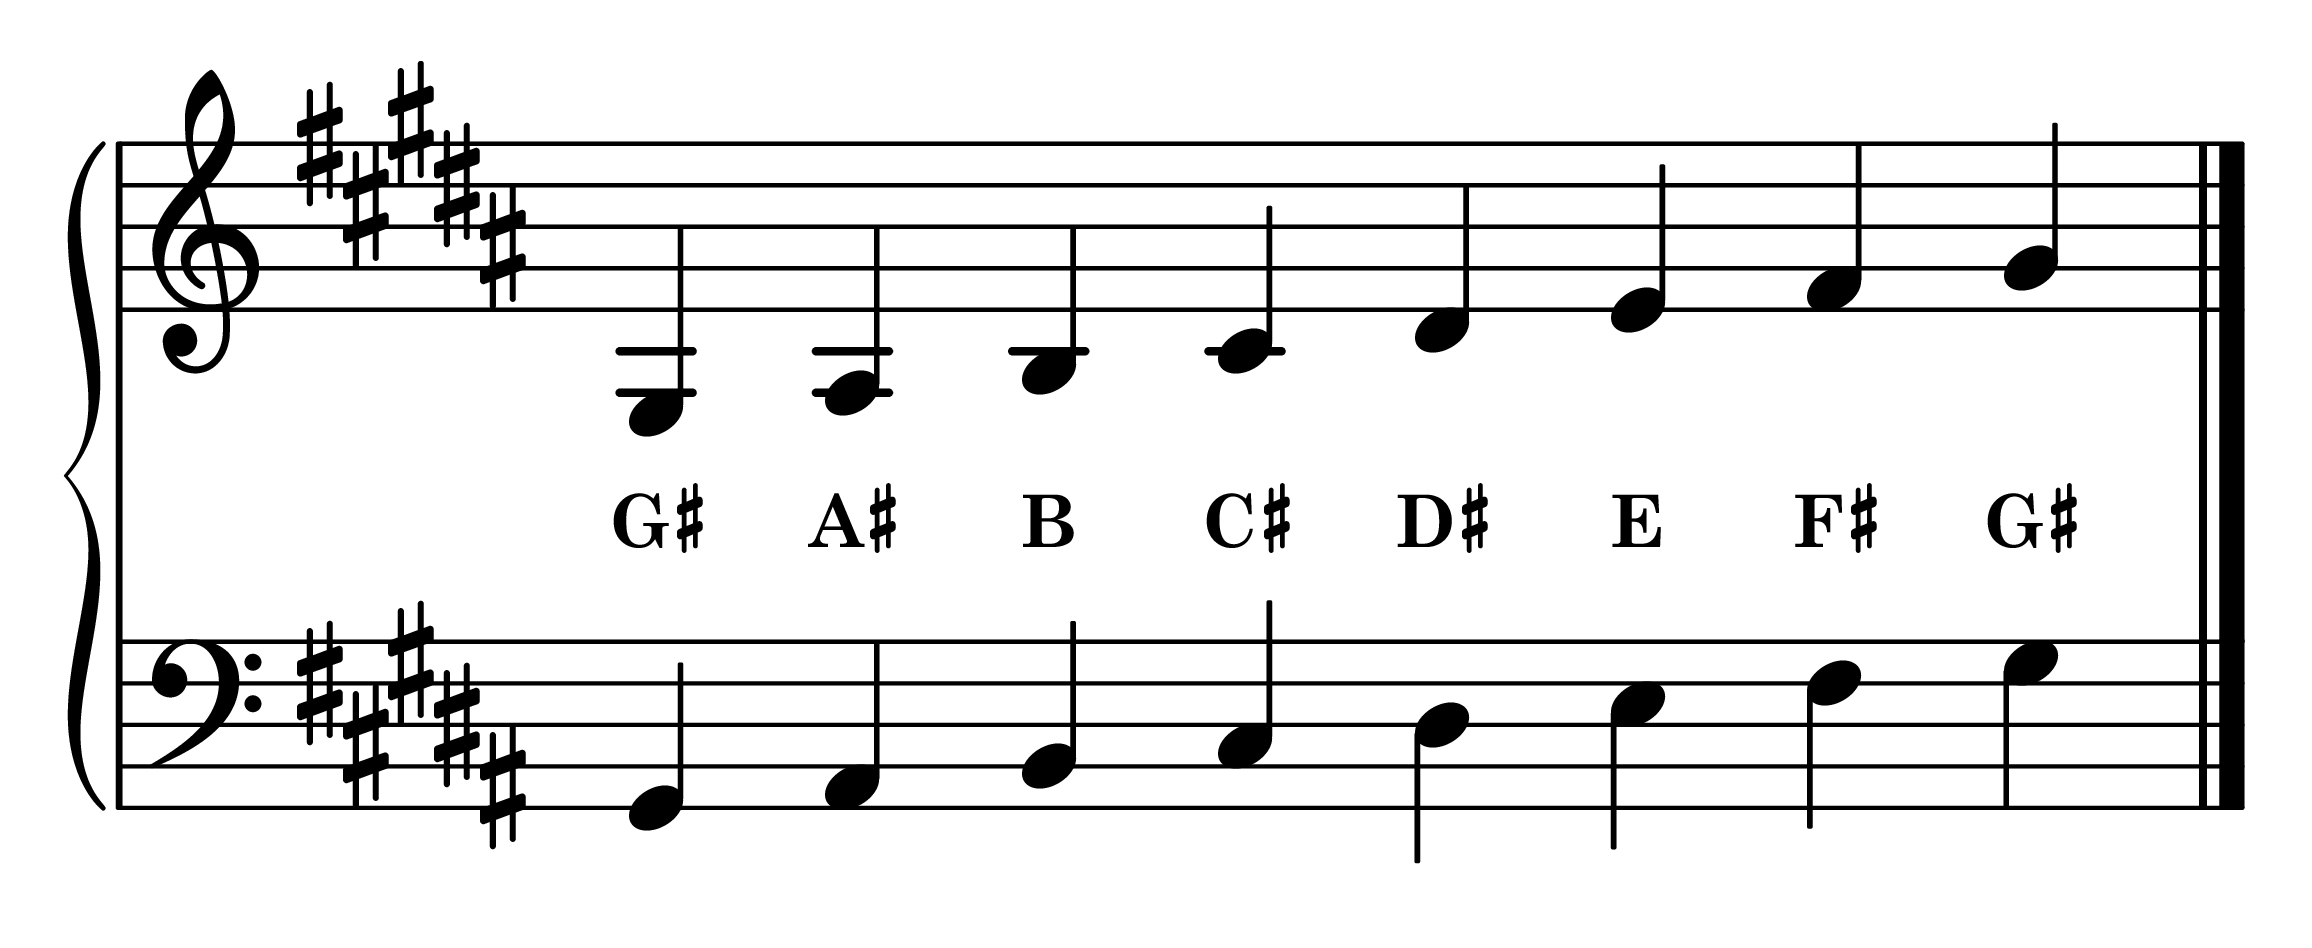
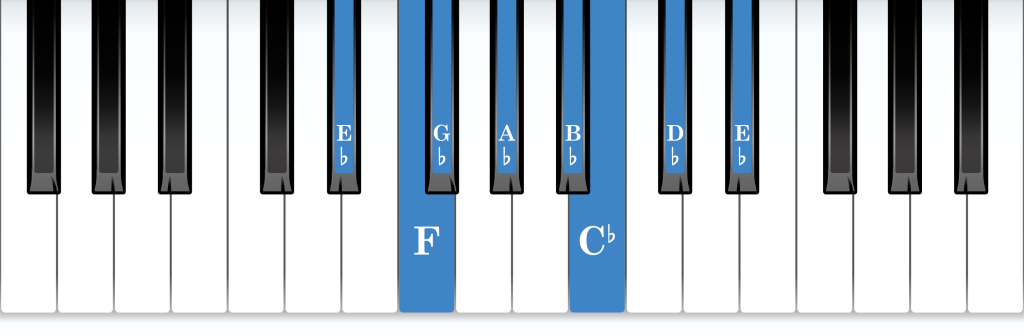
Questions and answers
No questions on this lesson yet. Be the first to ask one.
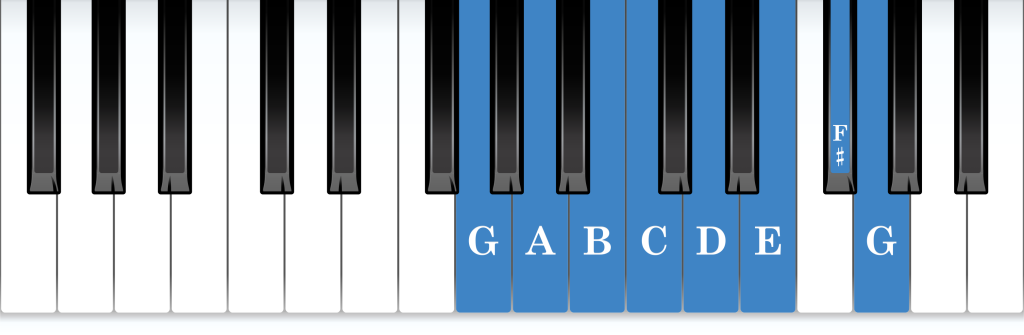
The G major scale is all white keys except for F-sharp, just before the top note. That one black key is a useful landmark. What tends to happen is that the hand lines up for white keys and then misses the F-sharp, so let's keep the fingertips close to the black keys and let the fourth finger in the right hand, and the second in the left, rest over the F-sharp before it arrives.
| G Major Scale Overview | |
|---|---|
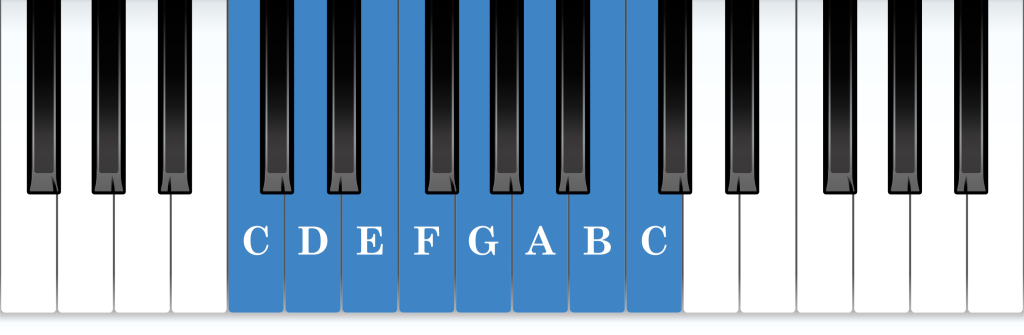
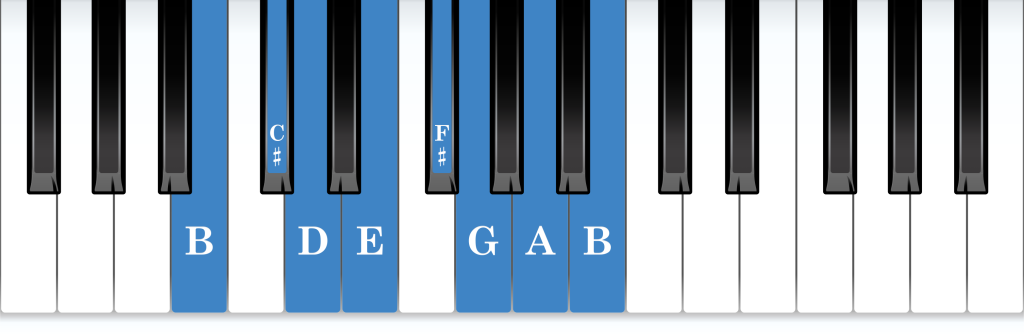
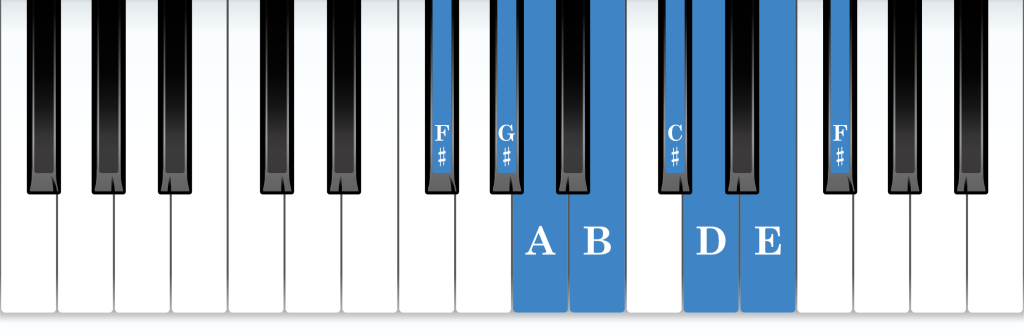
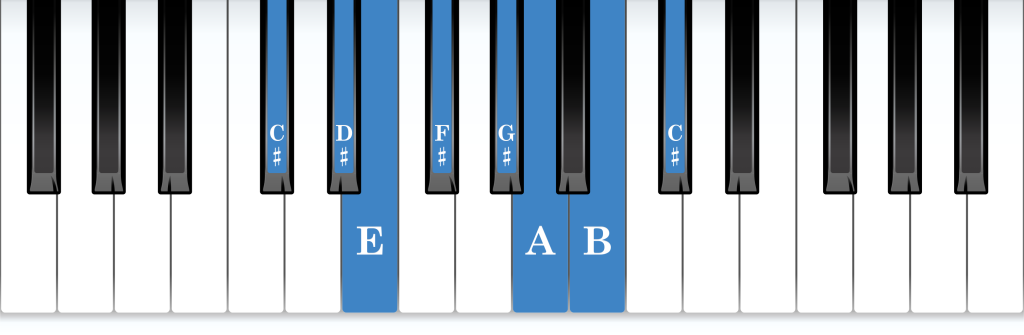
| Keyboard Layout | 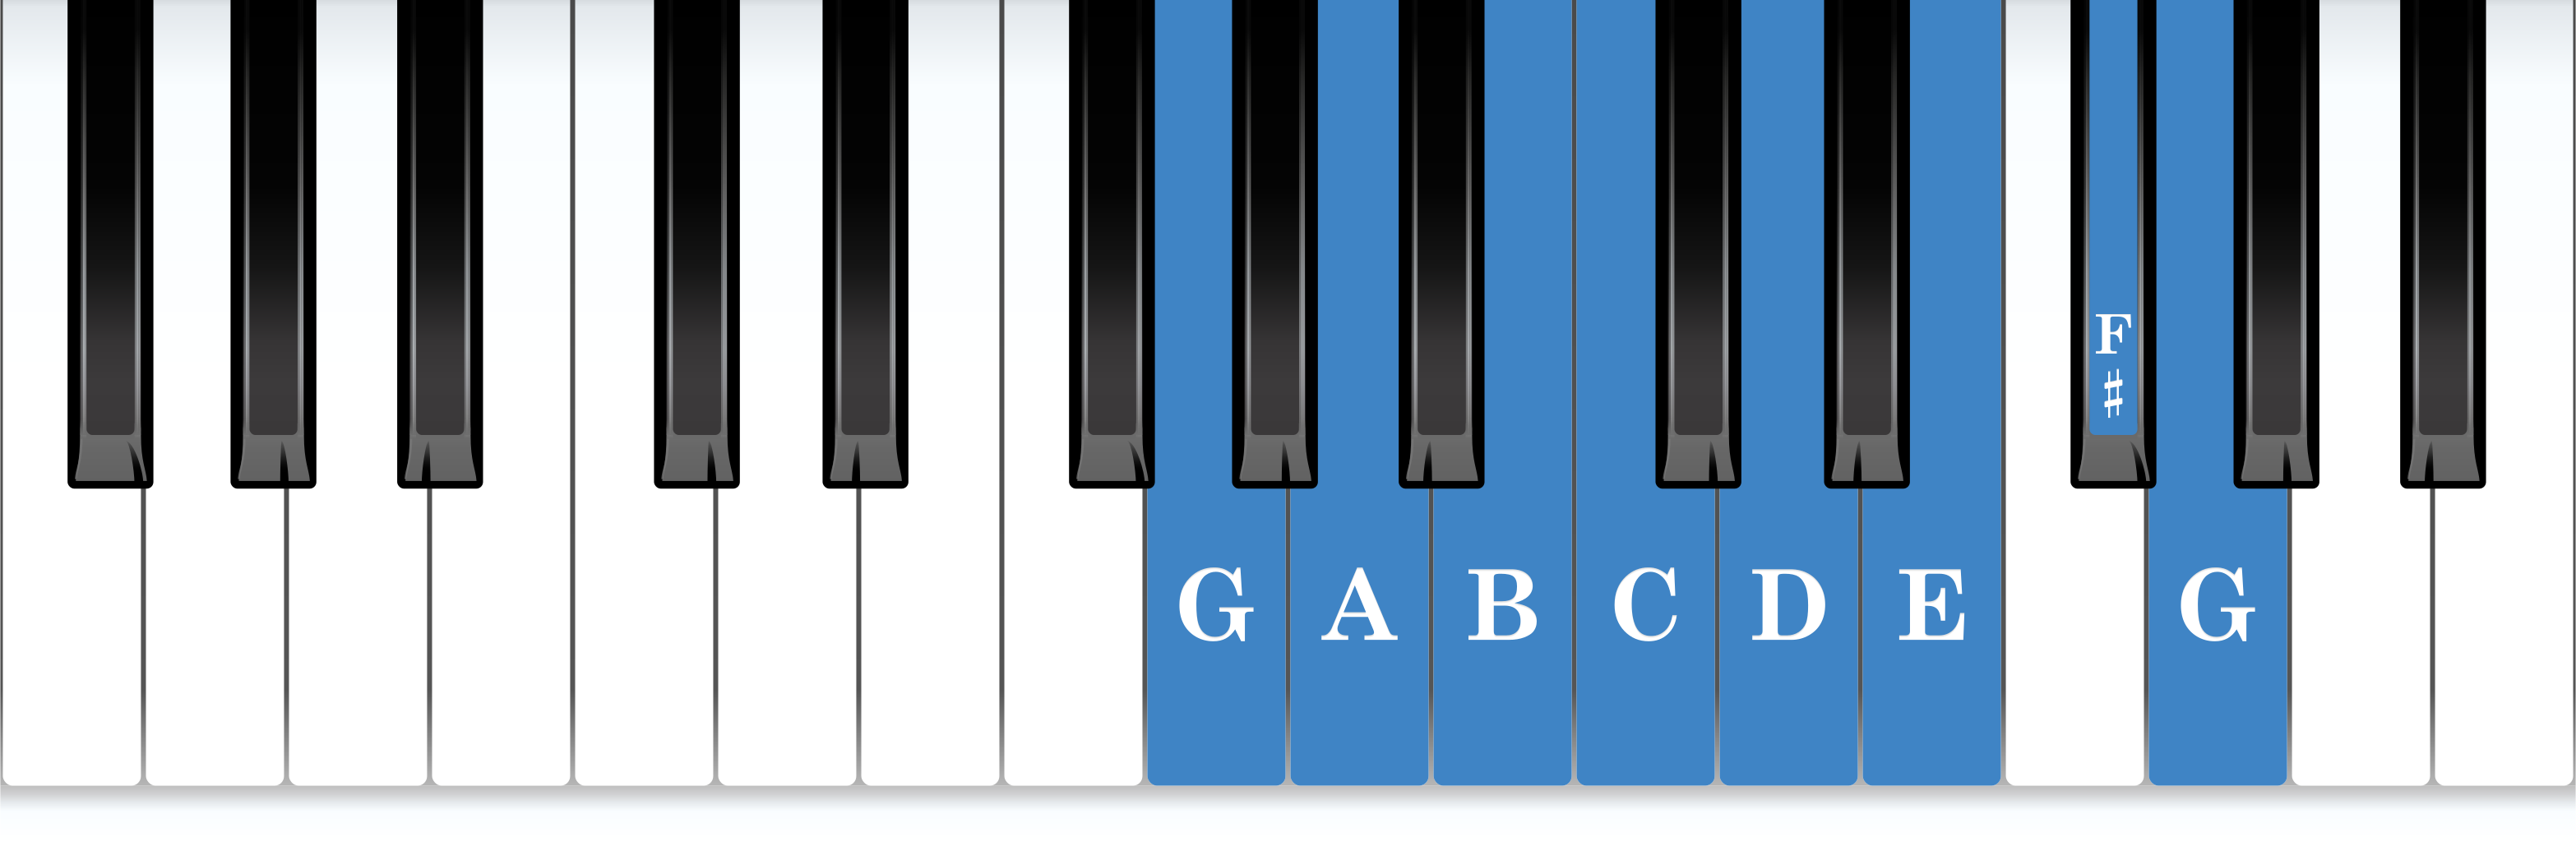 |
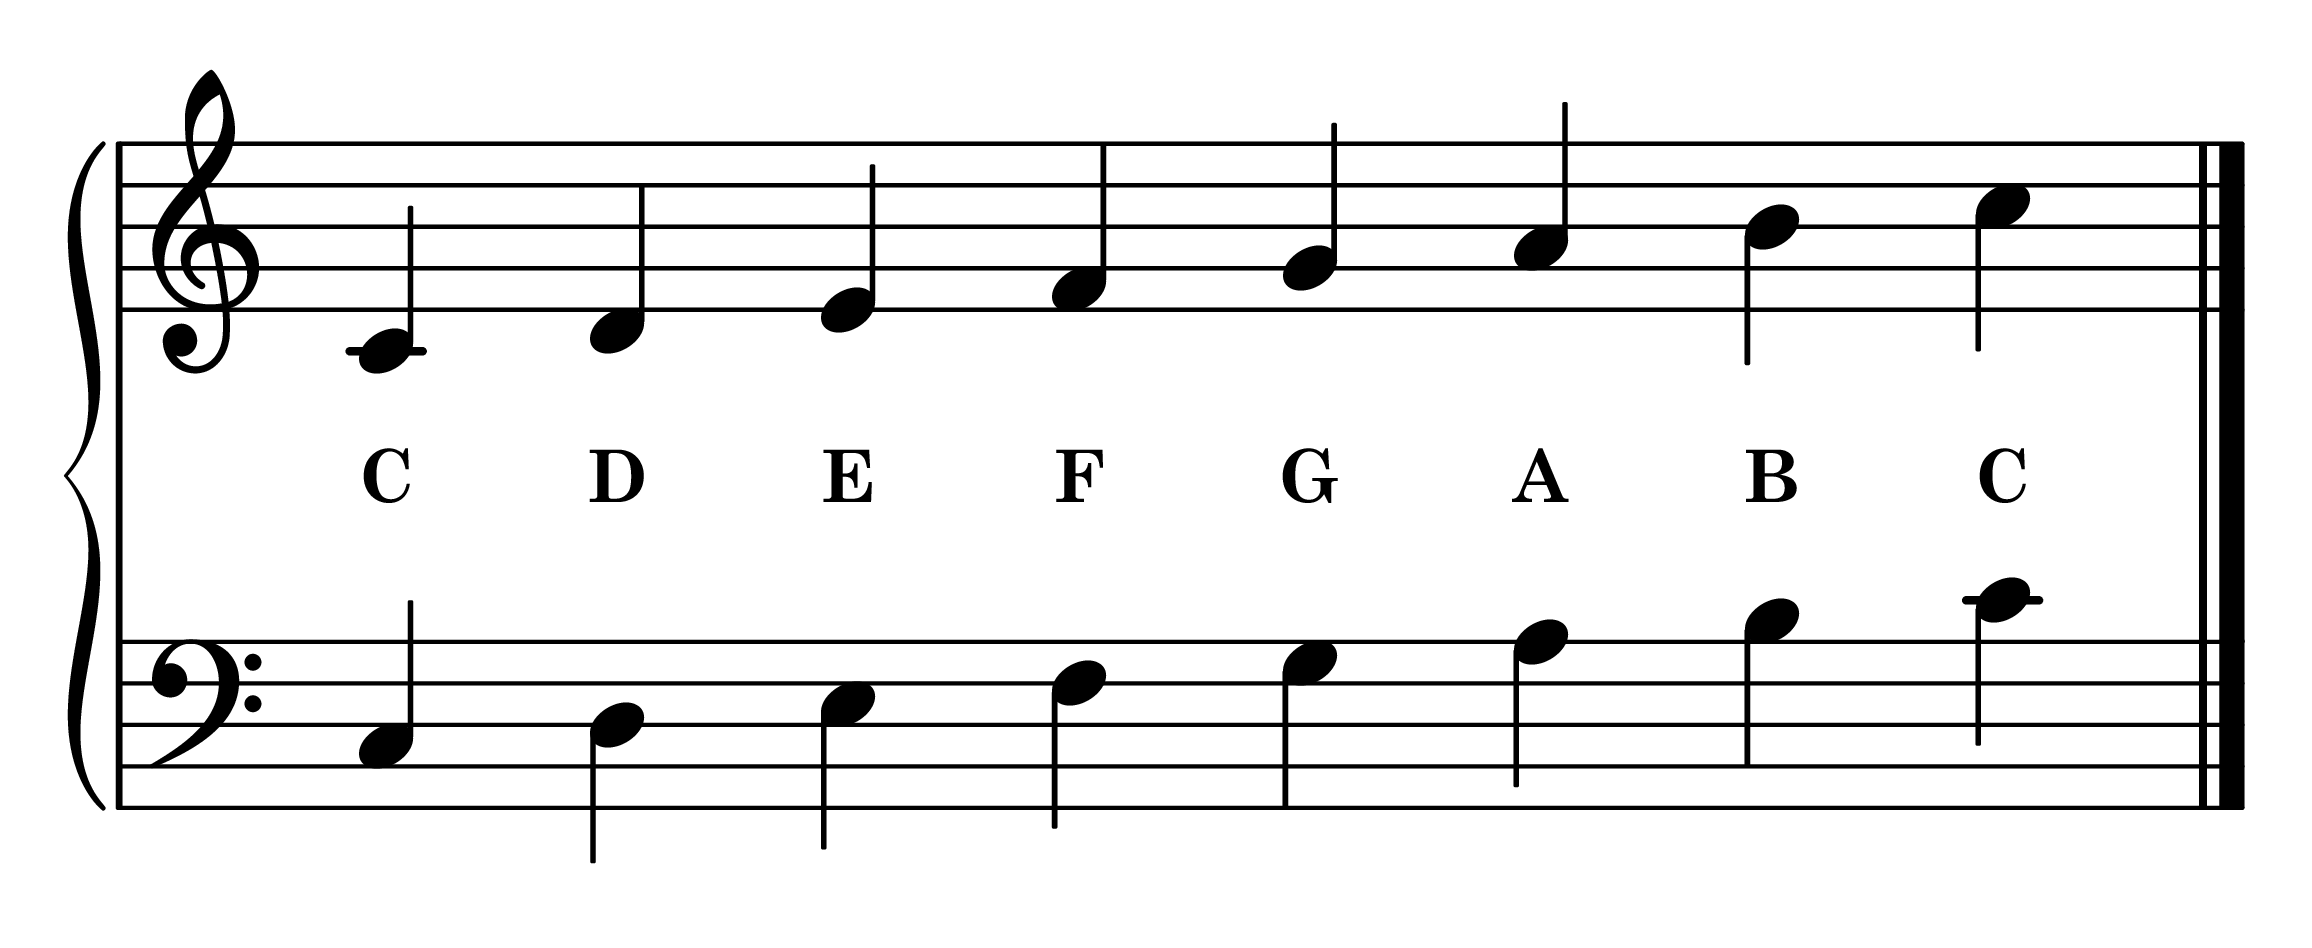
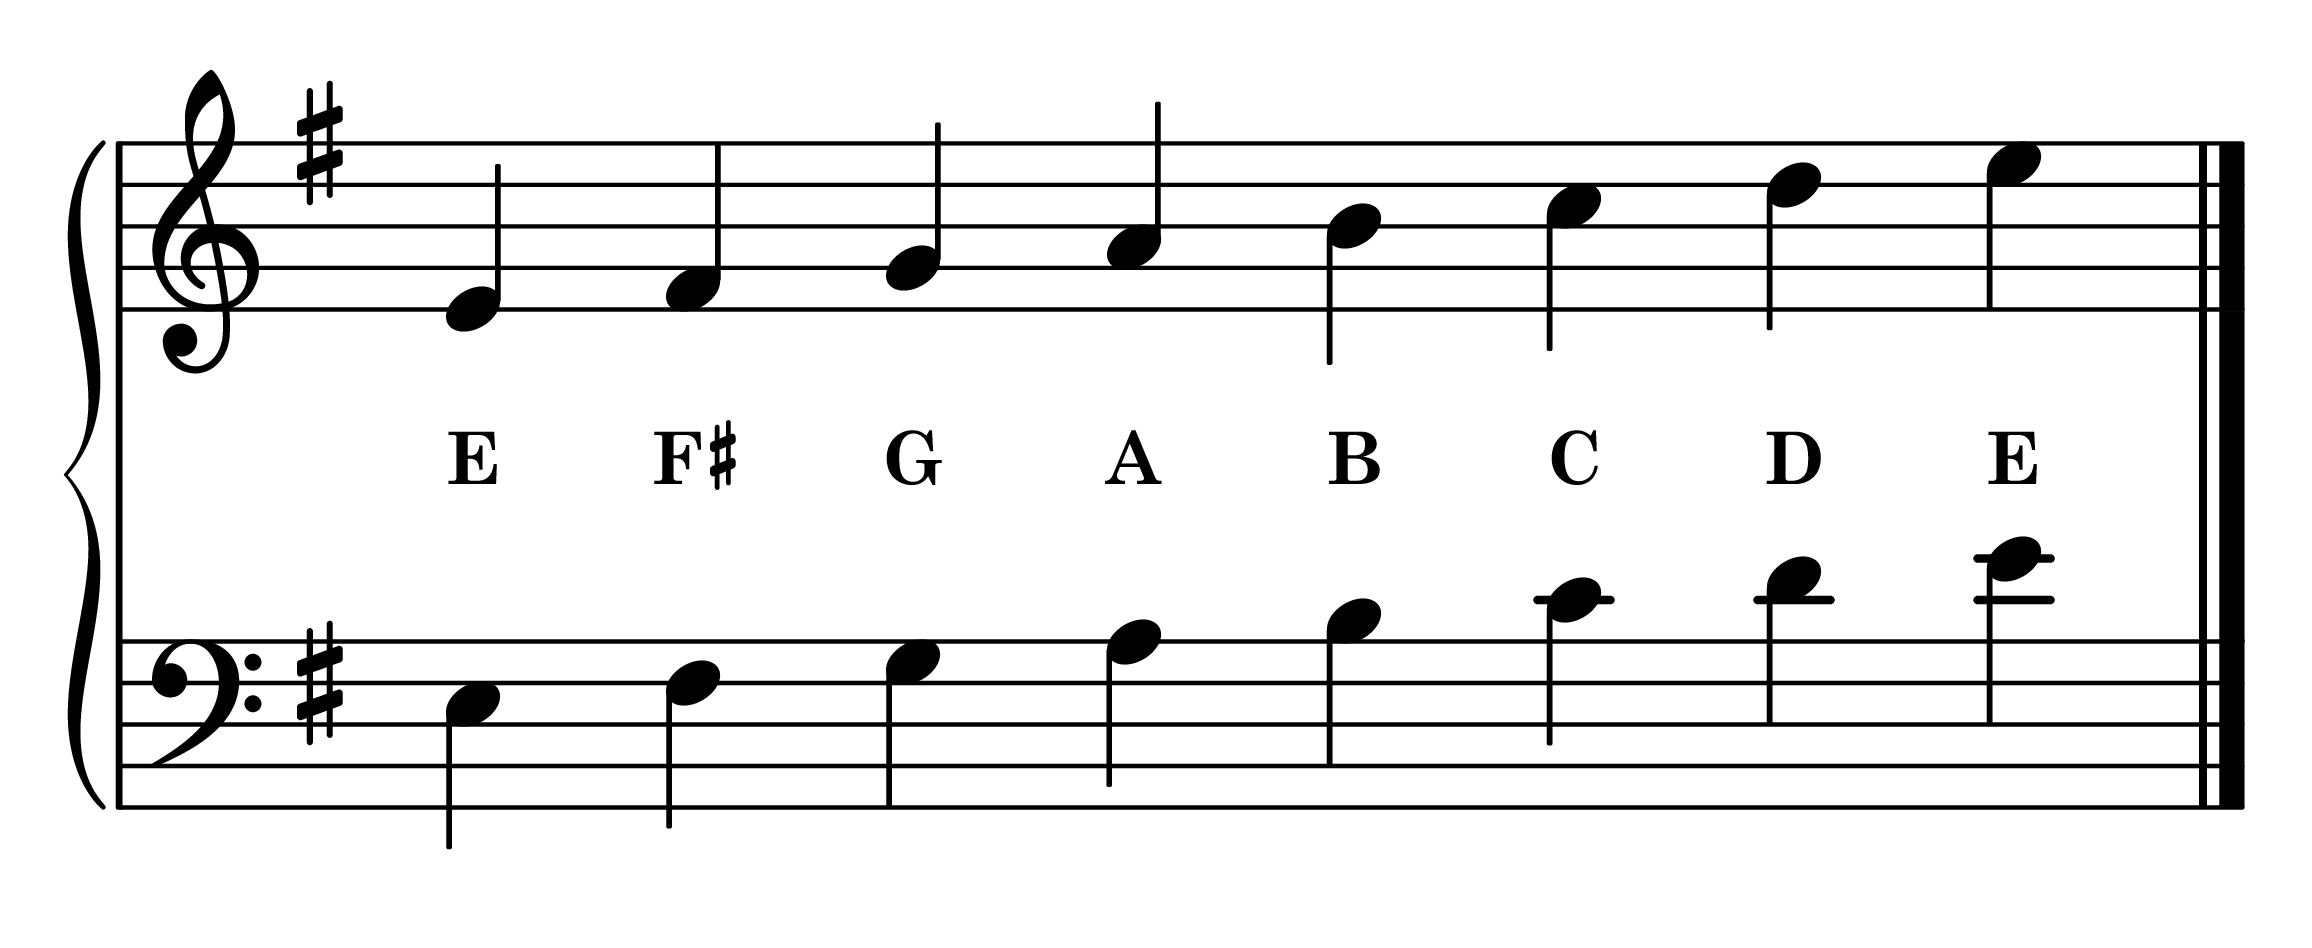
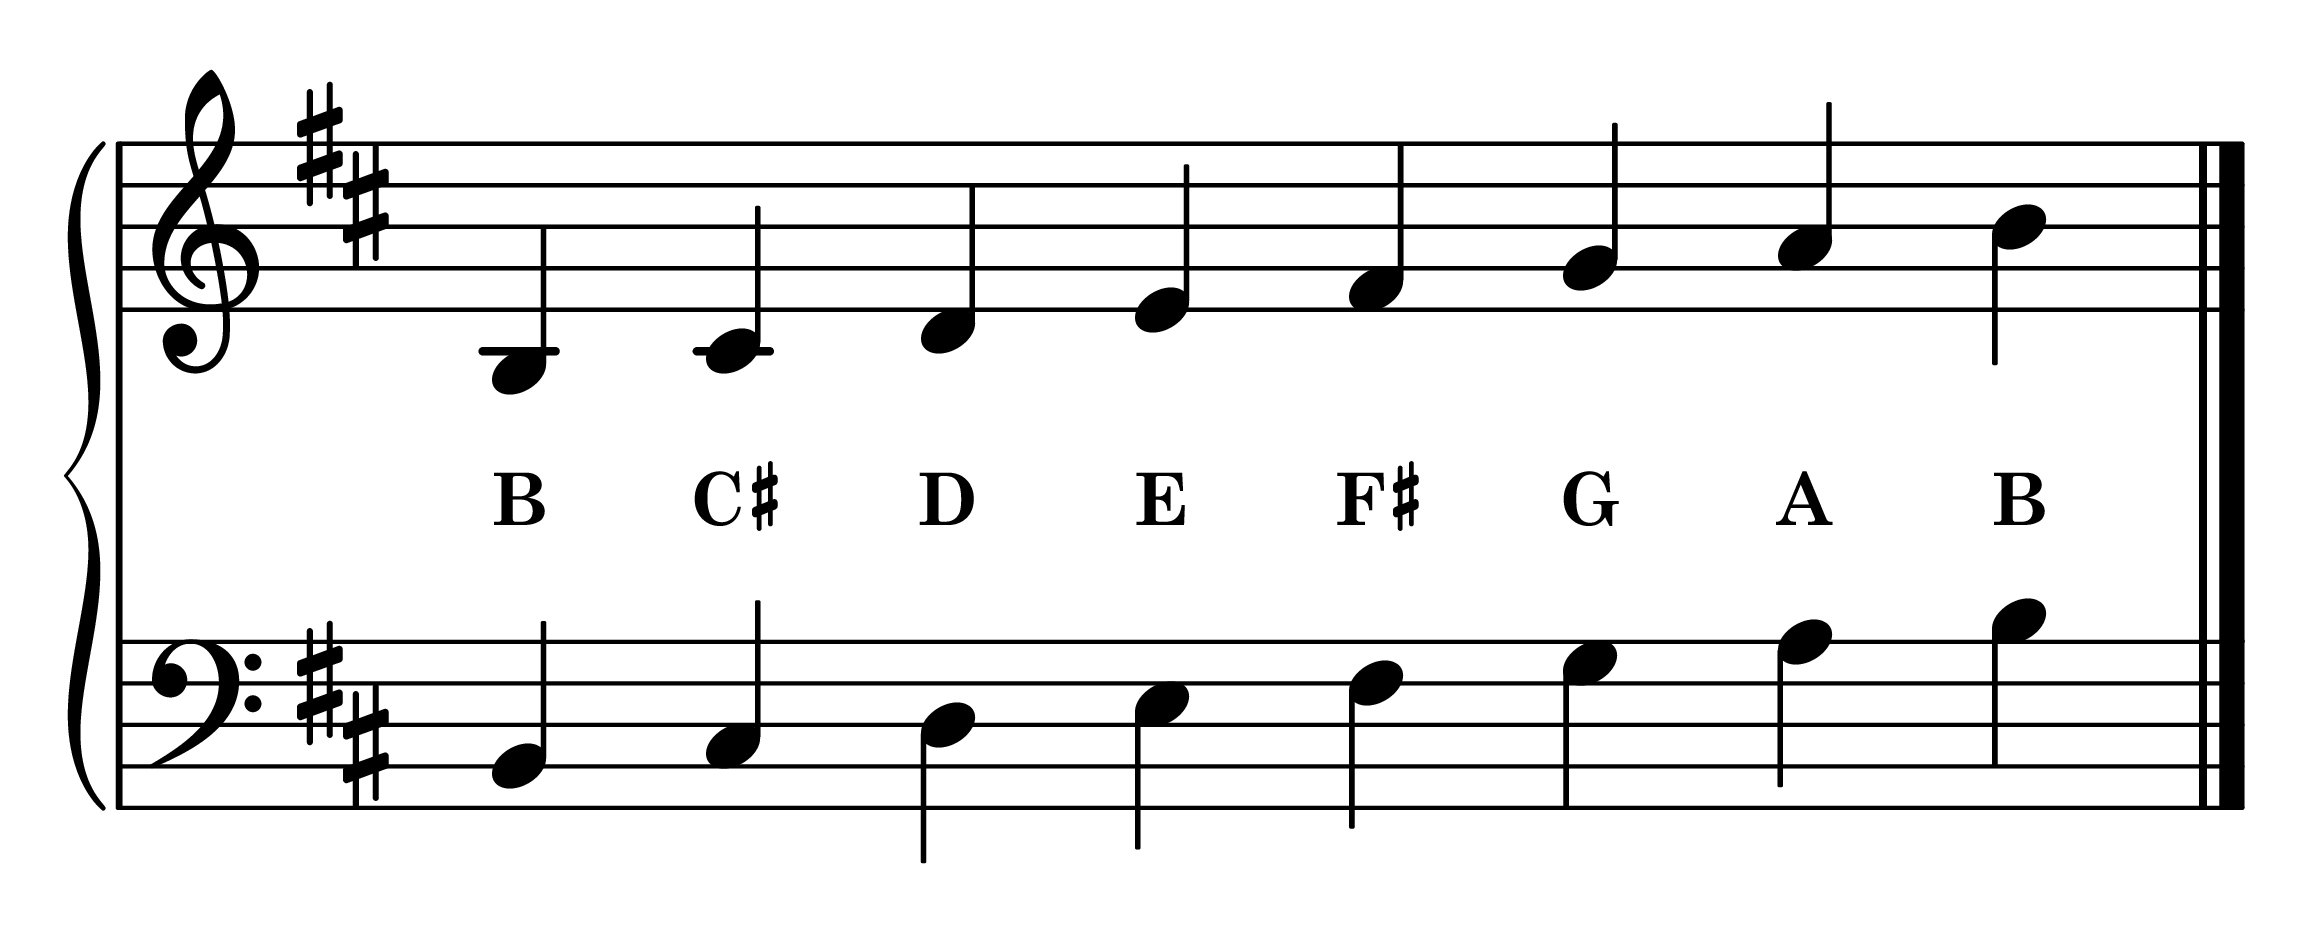
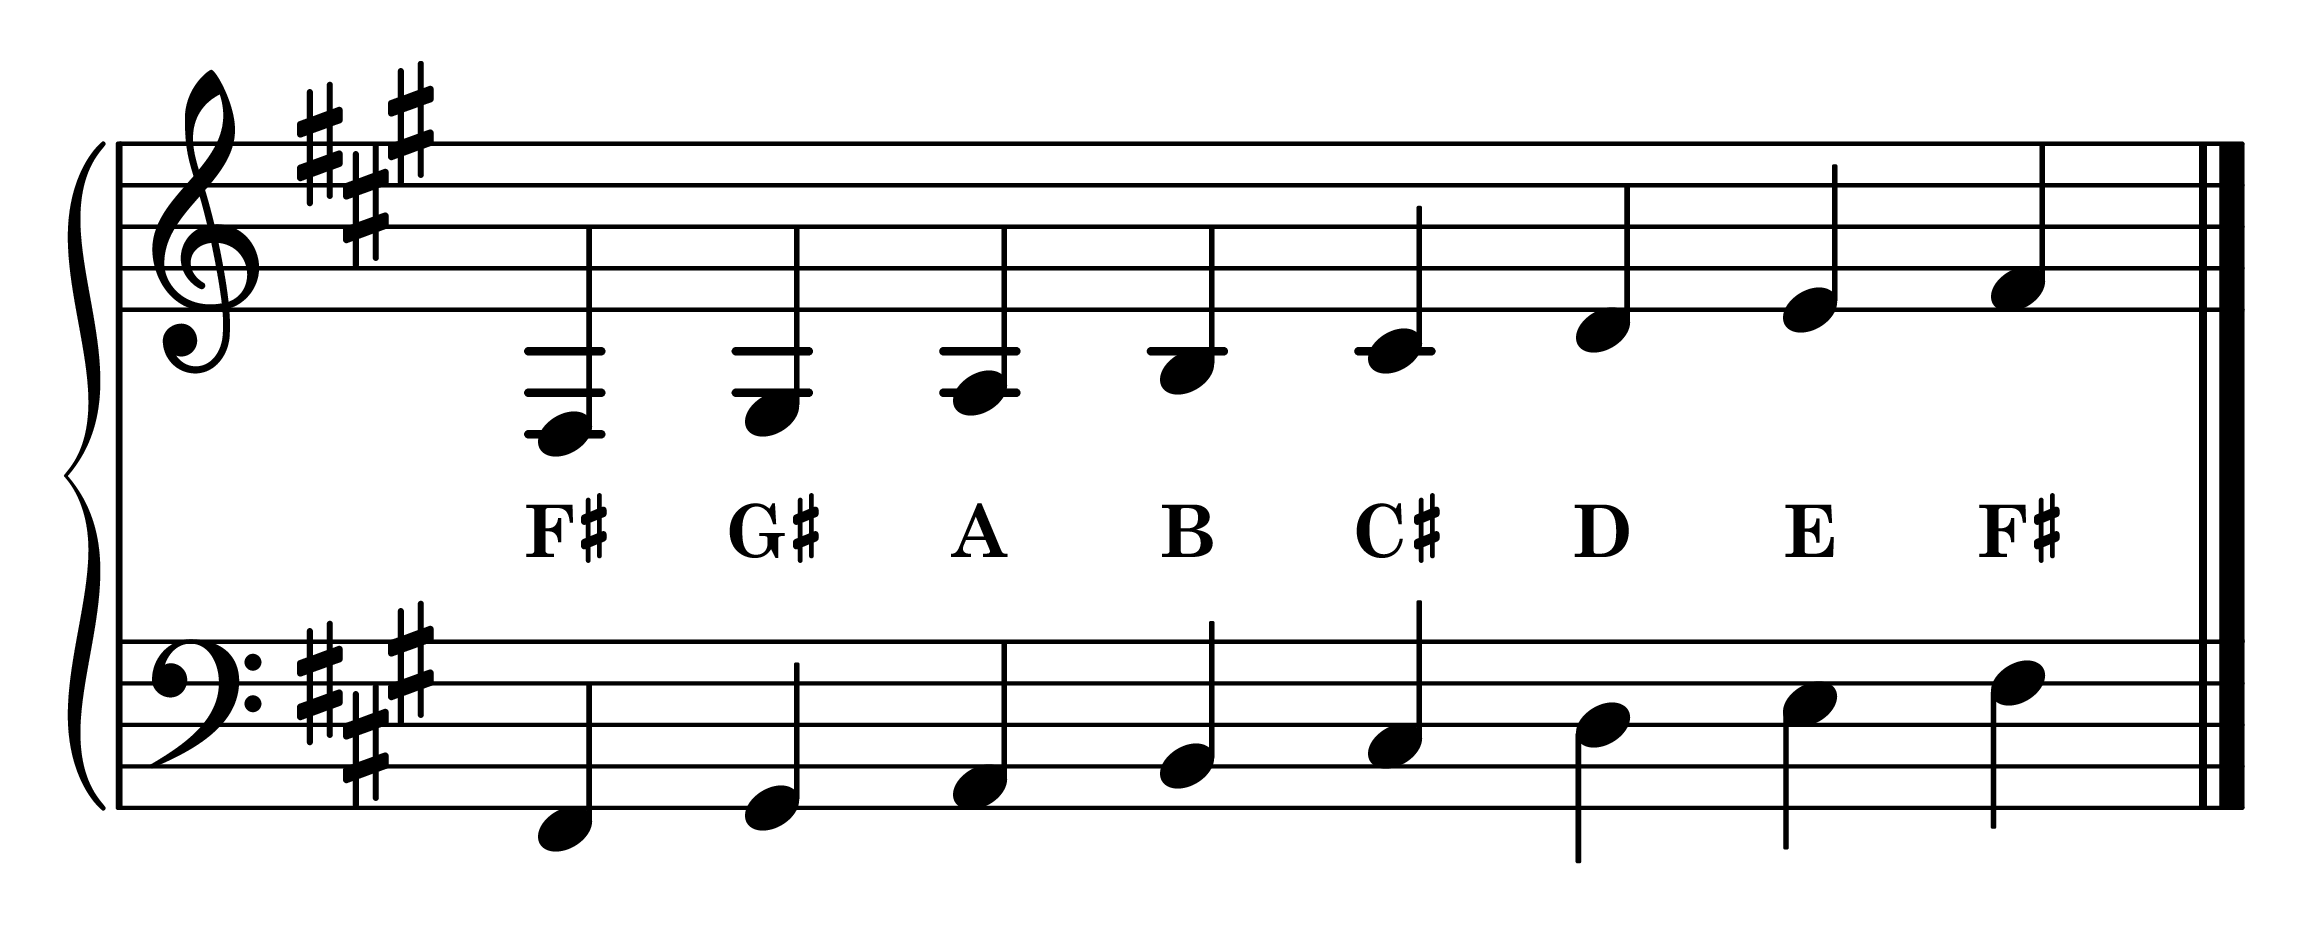
| Staff Layout | 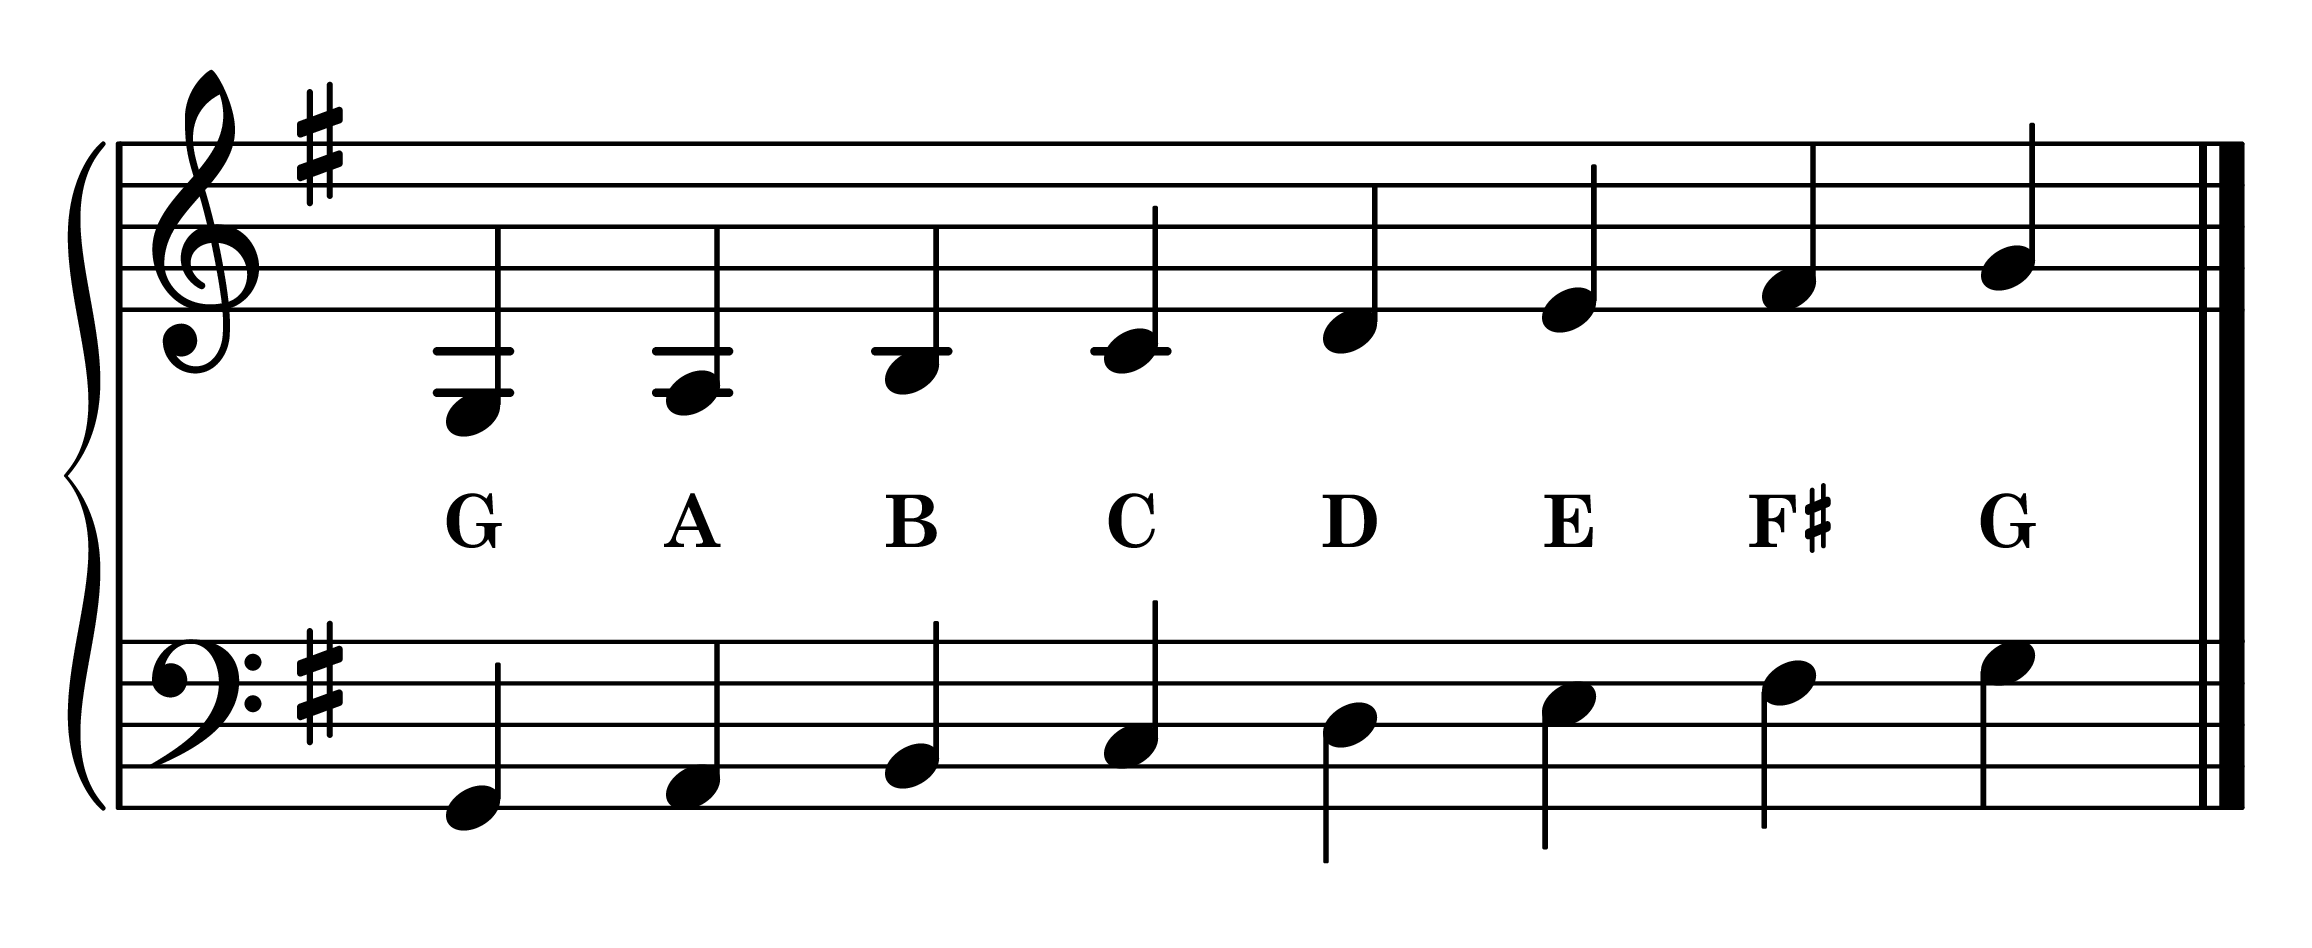 |
| Key Signature | One Sharp (F♯) |
| Notes of Scale | G, A, B, C, D, E, F♯, G |
| RH Fingering | 1 2 3 - 1 2 3 4 - 5 |
| LH Fingering | 5 - 4 3 2 1 - 3 2 1 |
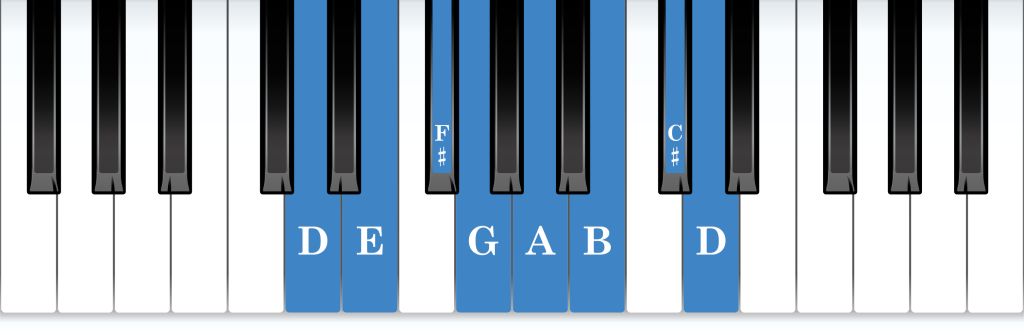
| Relative Scale | E Minor Scale |
| Parallel Scale | G Minor Scale |
The G major scale is six white keys followed by a single black key, F-sharp, just before the top. As a terrain, it’s a flat surface with one bump near the end, and that bump is the only landmark the hand has.
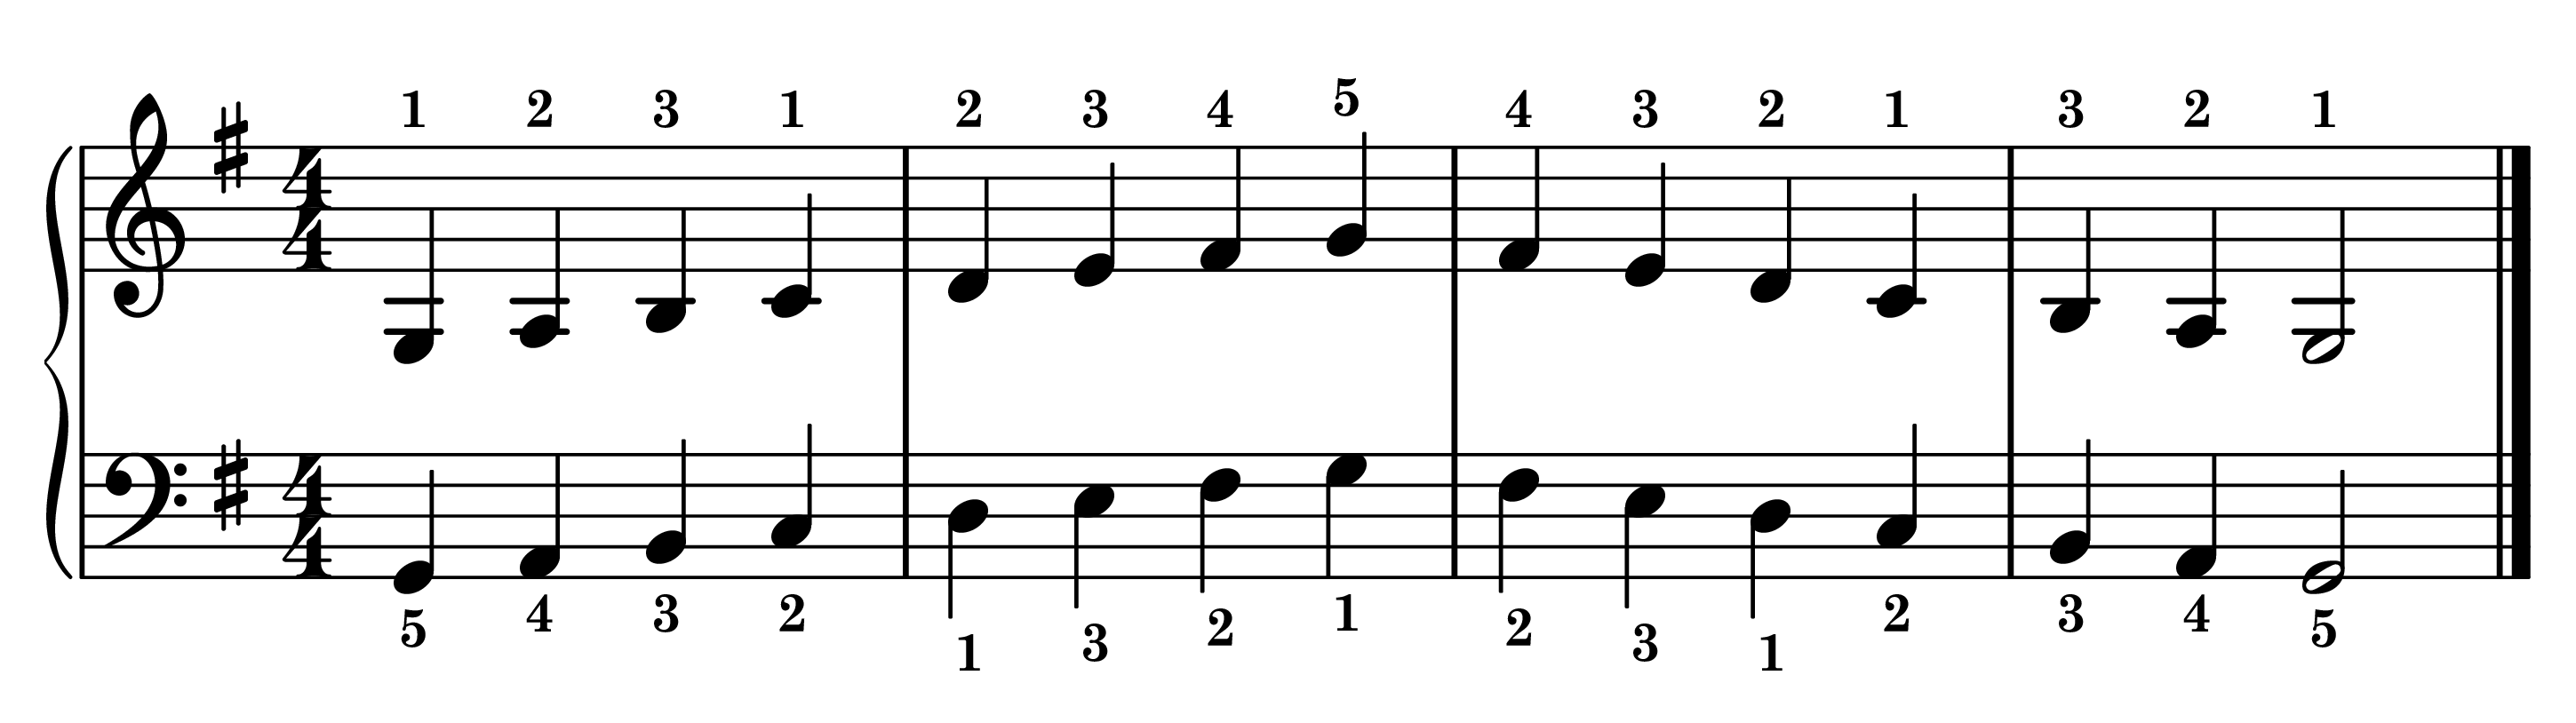
This is the G major scale on the staff, both hands together, one octave ascending and descending.
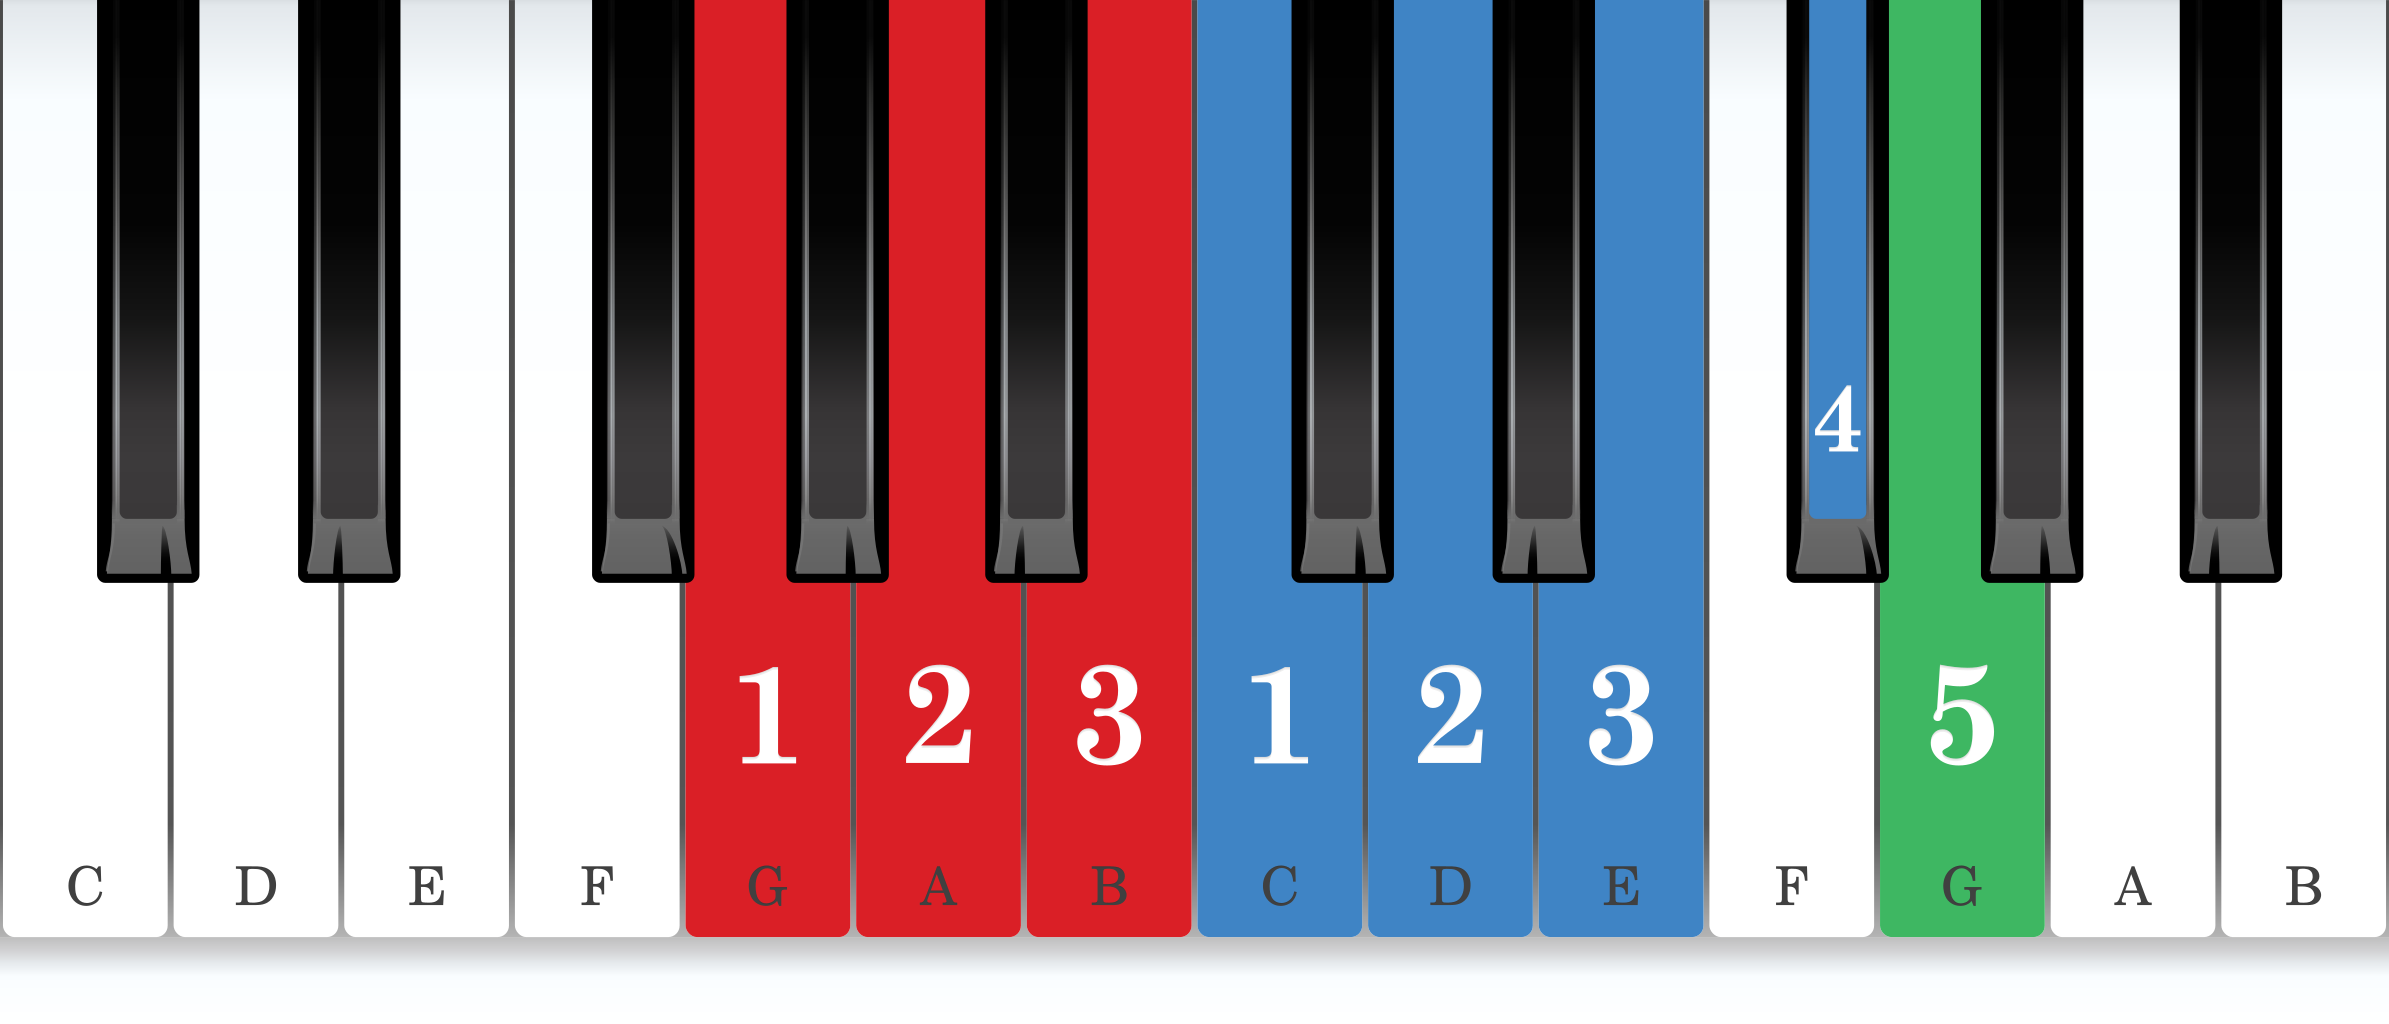
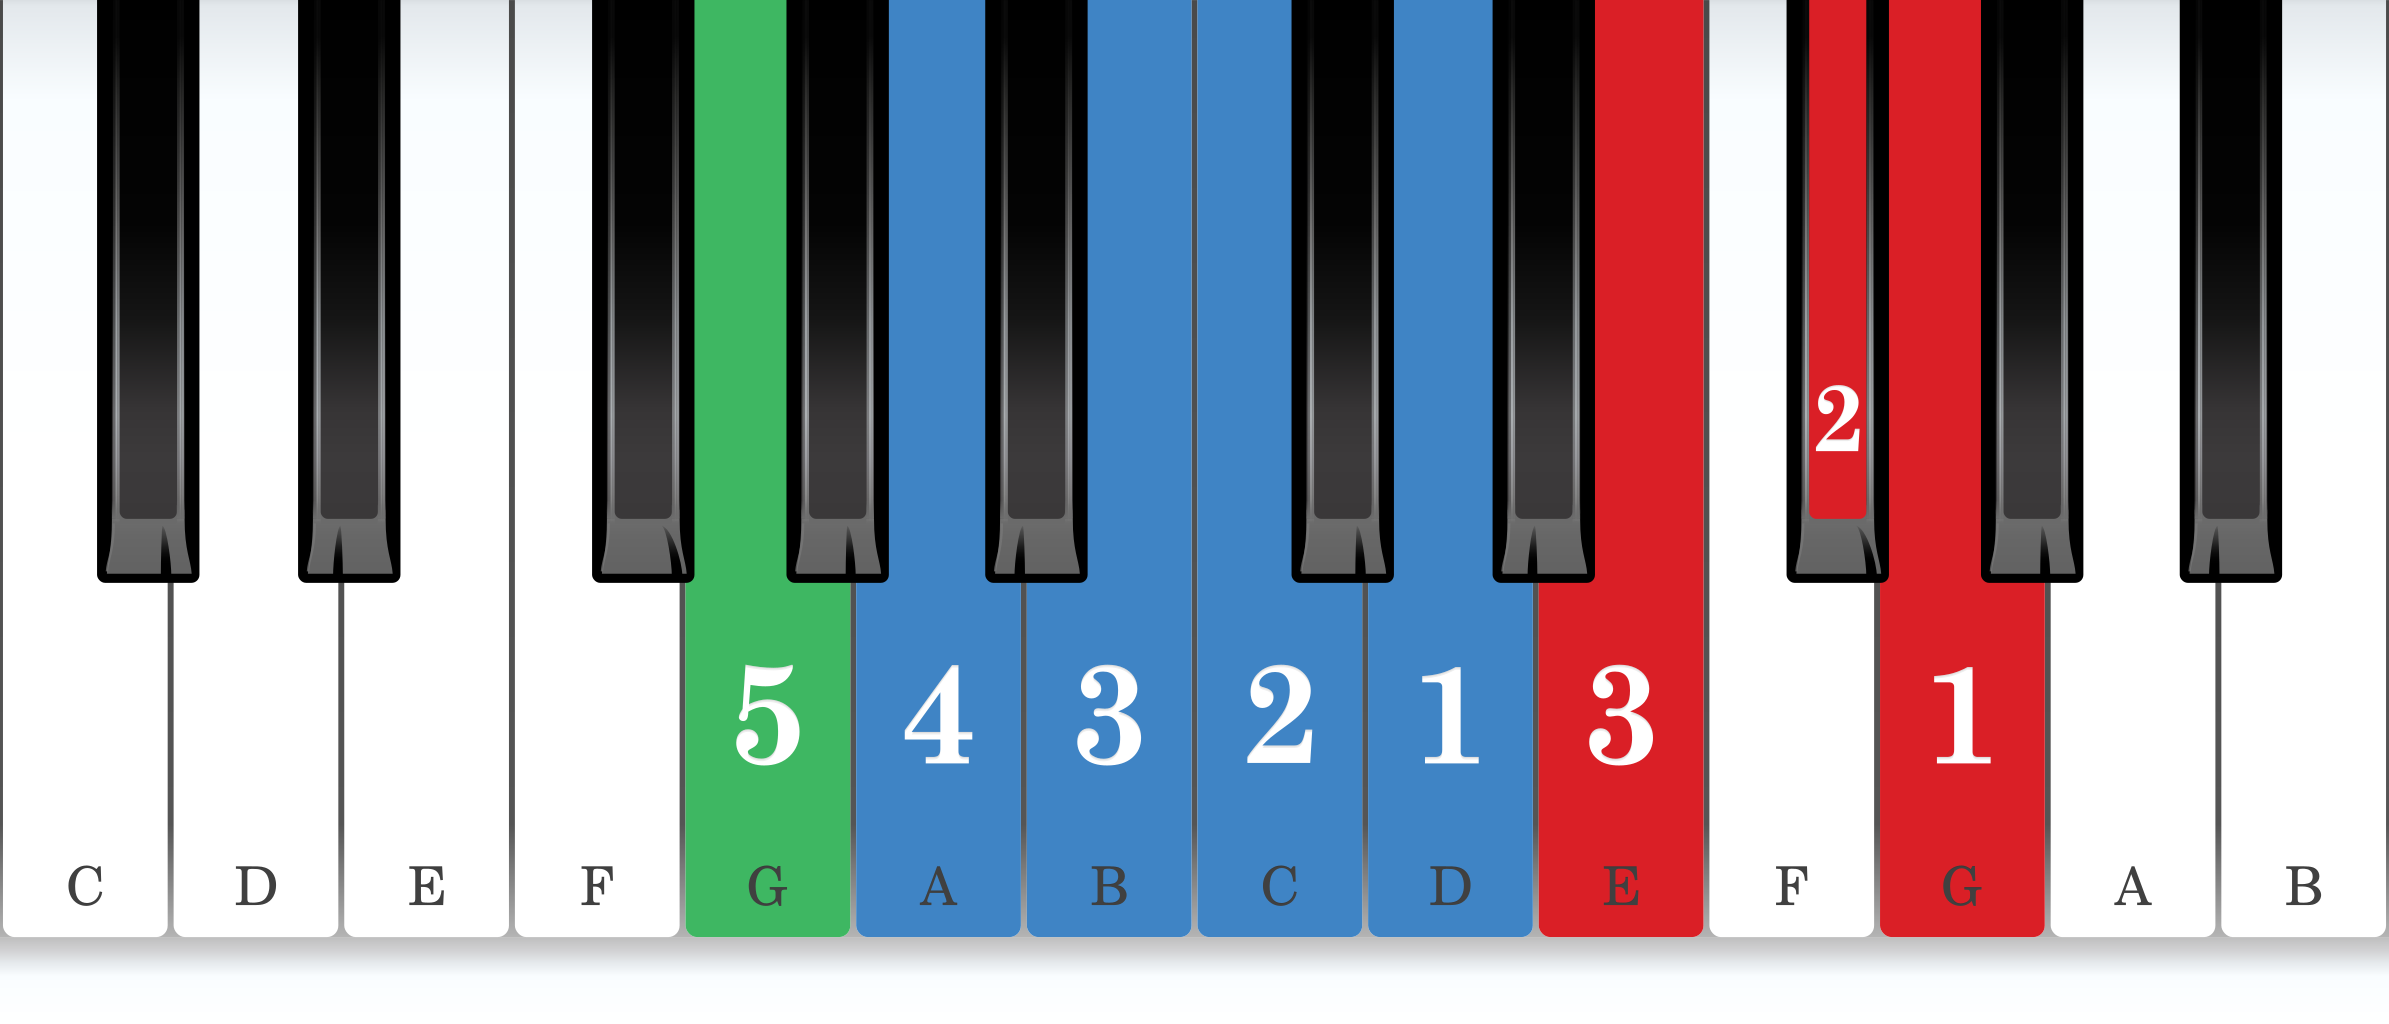
Each hand on its own is the place to begin. The fingering becomes much clearer once we see the scale’s core positions: a group of three notes played with fingers 1-2-3 (red on the charts) and a group of four played with 1-2-3-4 (blue). Between them, they account for the whole scale.
The fingering is the same as C major. In the right hand, G, A, and B form the three-note group and C, D, E, and F-sharp the four-note group, with the top G on the fifth finger (green). In the left hand, the bottom G takes the fifth finger, A, B, C, and D form the four-note group, and E, F-sharp, and G the three.
A useful way to work with the core positions is in three stages:
With the hands together, the core positions stop being much help, because the two hands change position at different moments. What we can follow instead are sync points: places where both hands land on the same finger, or where the fingers form a mirror image of each other.
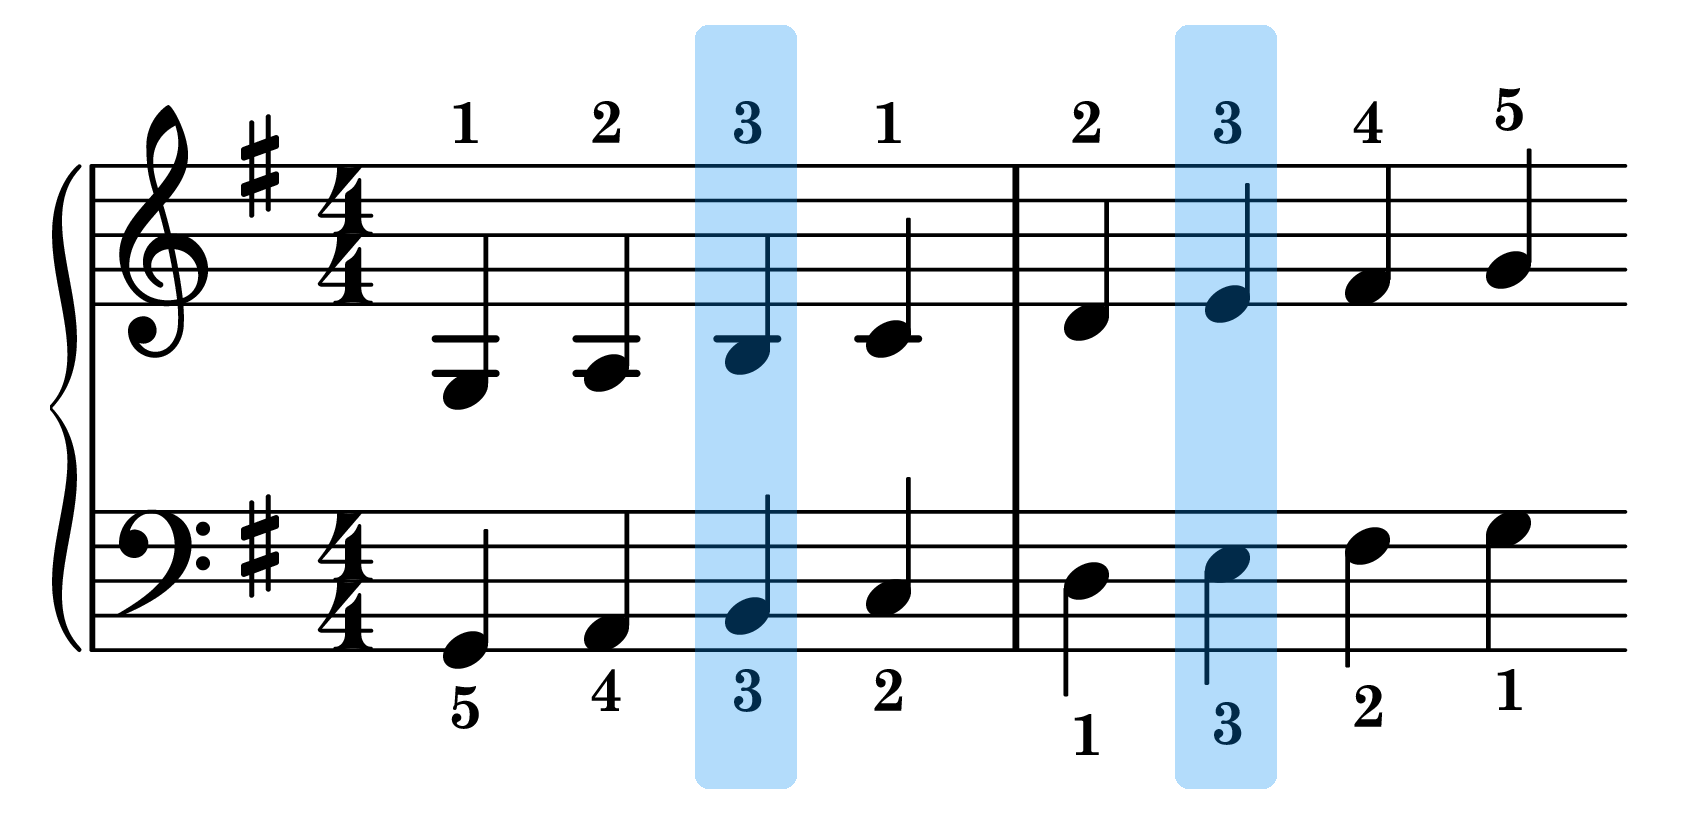
The 3rd fingers meet on B and on E.
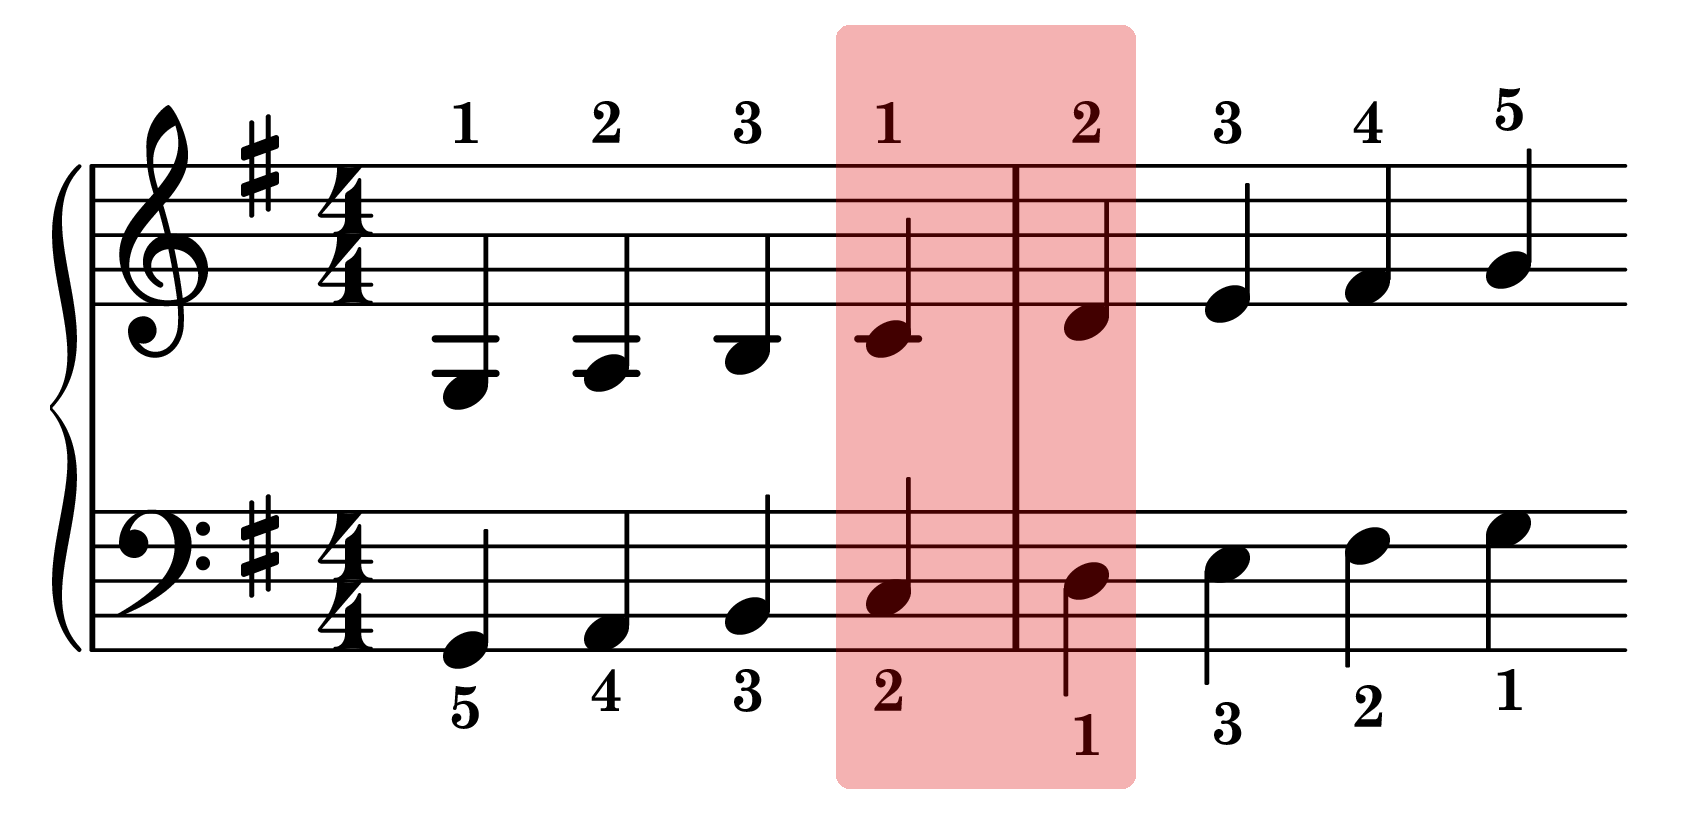
The thumbs come together on C and D, where fingers 1 and 2 form a mirror image, the “crab claw”. Playing this moment with both hands steadies the change of position in the middle of the scale, and makes it less likely that either hand second-guesses its fingering.
The same three stages work for sync points:
Once one octave feels consistent, we can extend the scale further up the keyboard. In the right hand, instead of finishing on the fifth finger, the thumb passes under to G again and the core positions repeat until the top. In the left hand, the core positions simply continue upward; on the way down, the thumb takes the place of the fifth finger on each G until the very bottom, where the fifth finger finishes the scale.
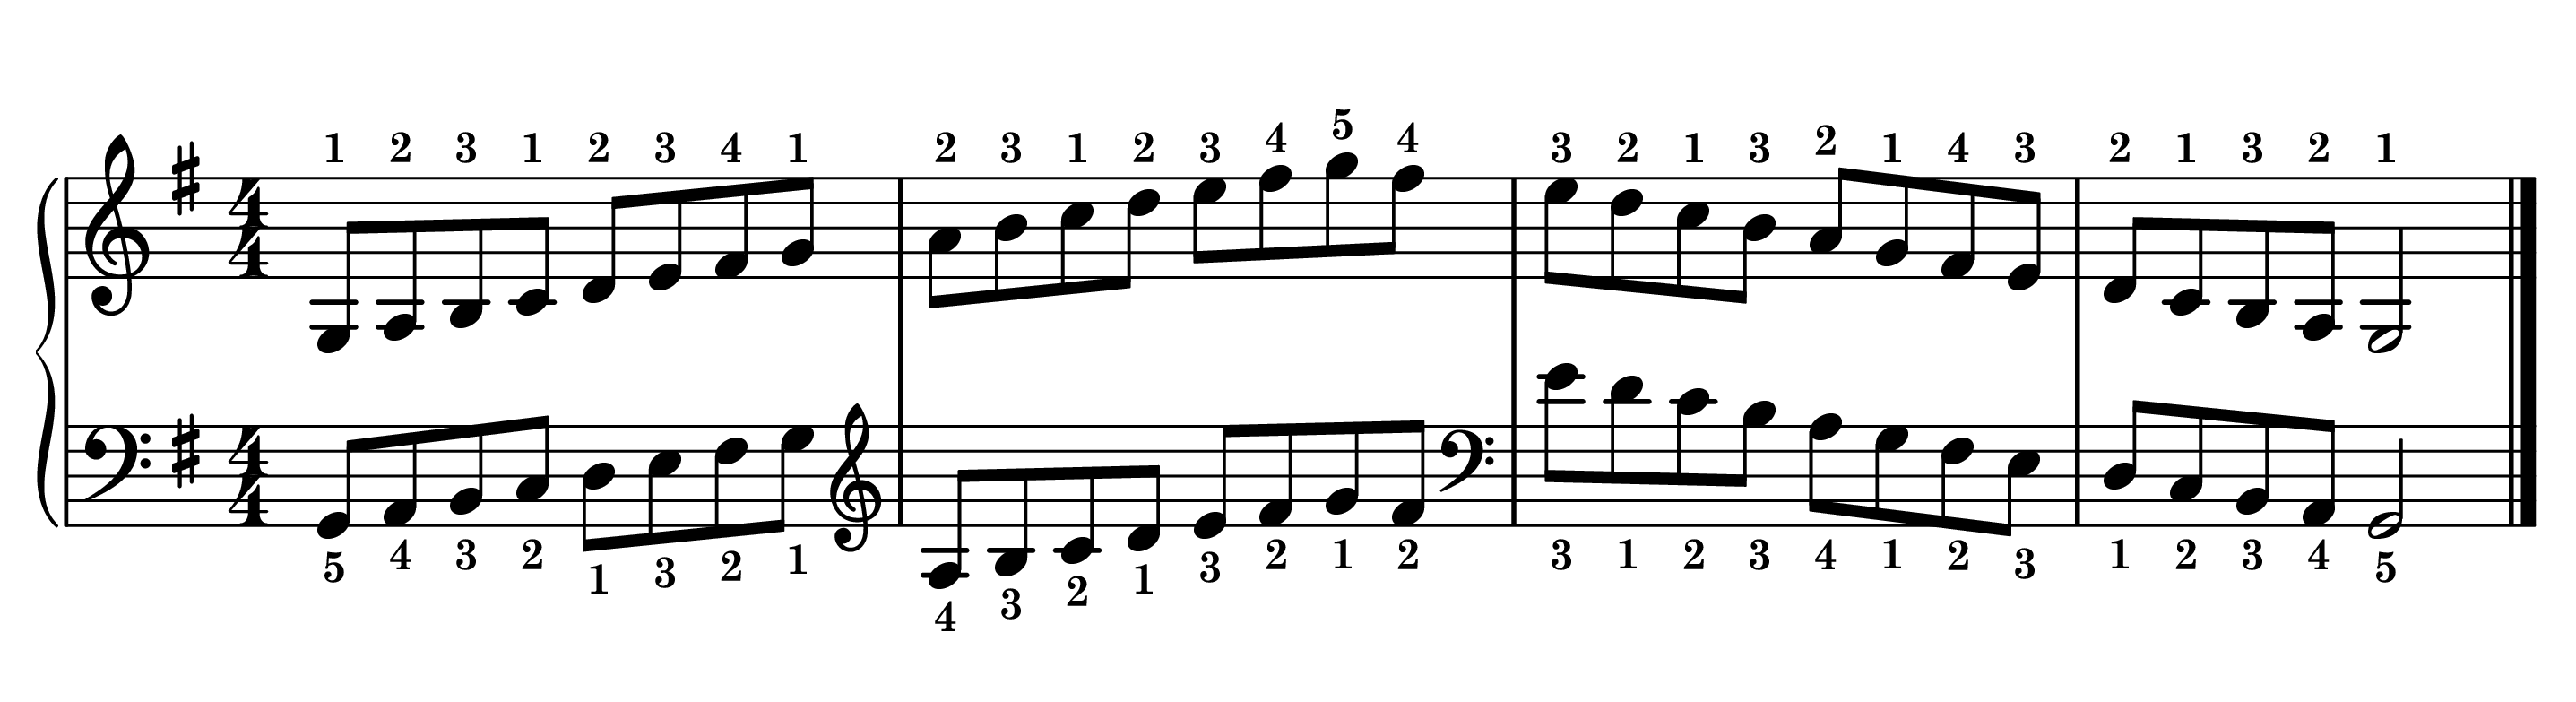
What tends to happen in G major is that the hand lines up for white keys, and by the time the F-sharp arrives, the finger lands on F instead. It helps to keep the fingertips close to where the black keys meet the white keys, so the fourth finger in the right hand, or the second in the left, is already resting over the F-sharp before it’s needed.
The other thing to watch is the left hand coming down. It’s easy to put the fourth finger on D out of habit, instead of letting the thumb tuck under to start the four-note group. Letting the thumb move a little earlier makes that change much more reliable.
Other techniques related to the G major piano scale:
No questions on this lesson yet. Be the first to ask one.
Continue learning with our full library of piano scale lessons